Chili peppers are a versatile and rewarding crop to grow at home. Whether you’re a seasoned gardener or a complete beginner, this guide will help you cultivate healthy, productive plants that yield a bountiful harvest. Let’s dive into the steps to grow chili peppers successfully.
1. Choose the Right Chili Pepper Varieties
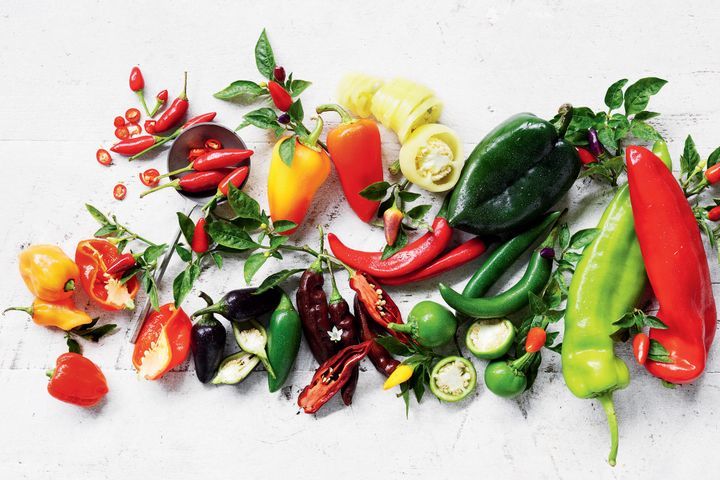
The first step in growing chili peppers is selecting the right varieties for your needs. From mild bell peppers to fiery habaneros, there’s a chili pepper for every taste and skill level. If you’re new to gardening, start with easier-to-grow varieties like jalapeños or cayenne peppers. For more experienced gardeners, exotic types like ghost peppers or Carolina reapers can add an exciting challenge.
2. Start with Quality Seeds or Seedlings
High-quality seeds or seedlings are the foundation of a successful chili pepper garden. You can purchase seeds from reputable suppliers or save them from store-bought peppers (just make sure they’re not hybrid varieties). If you prefer a head start, buy healthy seedlings from a local nursery.
3. Prepare the Perfect Growing Environment
Chili peppers thrive in warm, sunny conditions. Choose a spot that receives at least 6-8 hours of sunlight daily. If you’re growing indoors, place your plants near a south-facing window or use grow lights. Ensure the soil is well-draining and rich in organic matter. A pH level between 6.0 and 7.0 is ideal for chili peppers.
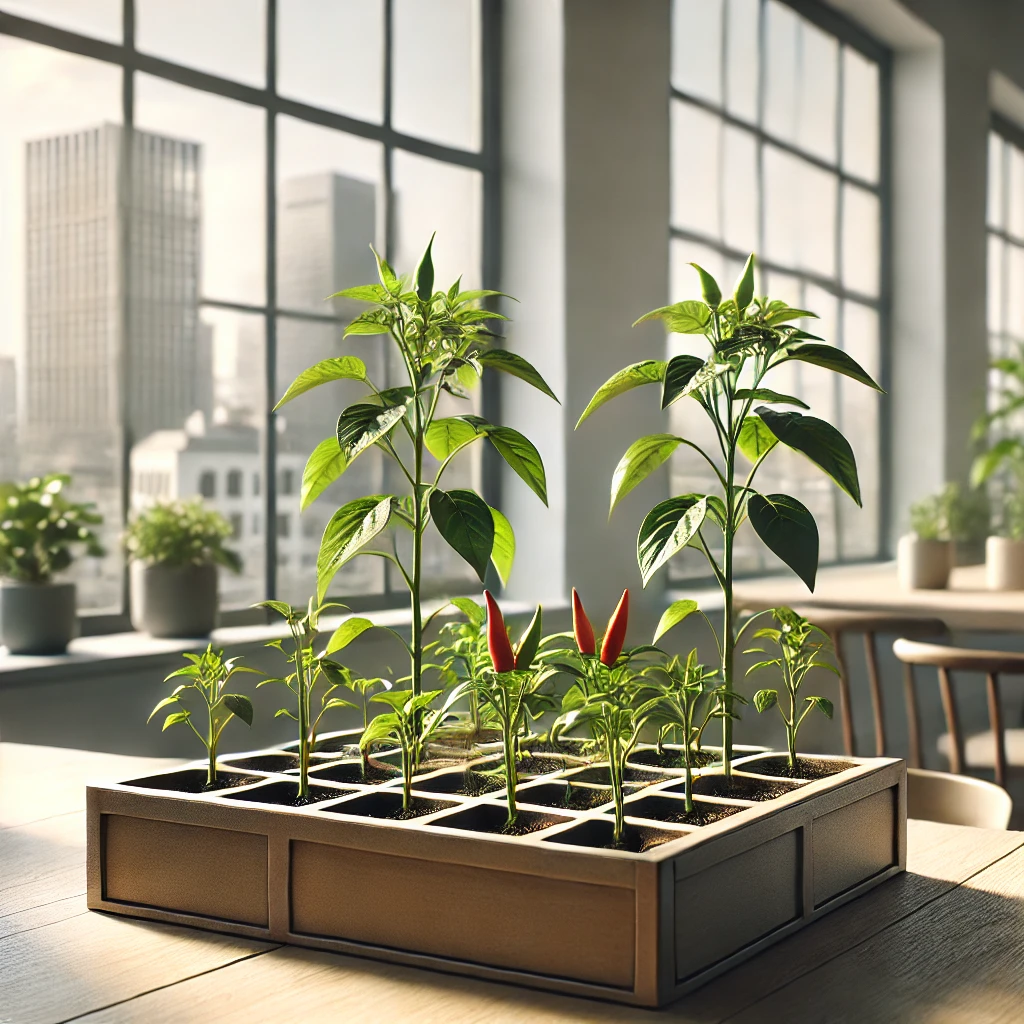
4. Plant Your Chili Peppers
If starting from seeds, sow them indoors 6-8 weeks before the last frost date. Use seed trays or small pots filled with seed-starting mix. Keep the soil moist and warm (around 70-80°F) until germination occurs. Once the seedlings have 2-3 true leaves, transplant them into larger pots or your garden. Space the plants 18-24 inches apart to allow for growth.
5. Water and Feed Your Plants
Chili peppers need consistent moisture but don’t like to sit in waterlogged soil. Water deeply when the top inch of soil feels dry, and avoid wetting the leaves to prevent fungal diseases. Fertilize your plants every 2-3 weeks with a balanced fertilizer or one high in potassium to promote flowering and fruiting.
6. Protect Your Plants from Pests and Diseases
Common pests like aphids, spider mites, and whiteflies can damage chili pepper plants. Regularly inspect your plants and use organic pest control methods like neem oil or insecticidal soap. To prevent diseases, ensure good air circulation and avoid overwatering.
7. Support Your Plants
As your chili peppers grow, they may need support to prevent branches from breaking under the weight of the fruit. Use stakes or small cages to keep the plants upright and healthy.
8. Harvest Your Chili Peppers
Most chili peppers take 60-90 days to mature, depending on the variety. Harvest them when they reach their full size and color. Use scissors or pruning shears to cut the peppers from the plant, leaving a small stem attached. Regular harvesting encourages the plant to produce more fruit.
9. Enjoy Your Homegrown Chili Peppers
Once harvested, you can use your chili peppers fresh, dry them for long-term storage, or turn them into sauces, salsas, and spices. The possibilities are endless, and the satisfaction of using homegrown peppers in your cooking is unmatched.
Explore More: The Best Chili Pepper Varieties
Once you’ve started growing chili peppers, explore the best varieties for cooking and gardening to spice up your life. Check out our guide: The Best Chili Pepper Varieties for Cooking and Gardening: Spice Up Your Life.
Pingback: Discover the Best Chili Pepper Varieties: Grow and Cook
Thank you for sharing this wonderful suggestion! Growing chili peppers at home is such a fulfilling and enjoyable way to bring fresh, flavorful ingredients right into your kitchen. Your beginner-friendly guide on cultivating chili peppers sounds like a fantastic resource for anyone looking to start their gardening journey and add a little spice to their lives. If you have any personal tips or favorite varieties to recommend, I’d love to hear about them! 😊
Os comentários estão fechados.